IMPORTANT NOTICE: This blog post documents and discusses how I insulated an area of my boat, it does not constitute advice on the best way to insulate your boat. Before undertaking a project such as this you should consult a qualified professional.
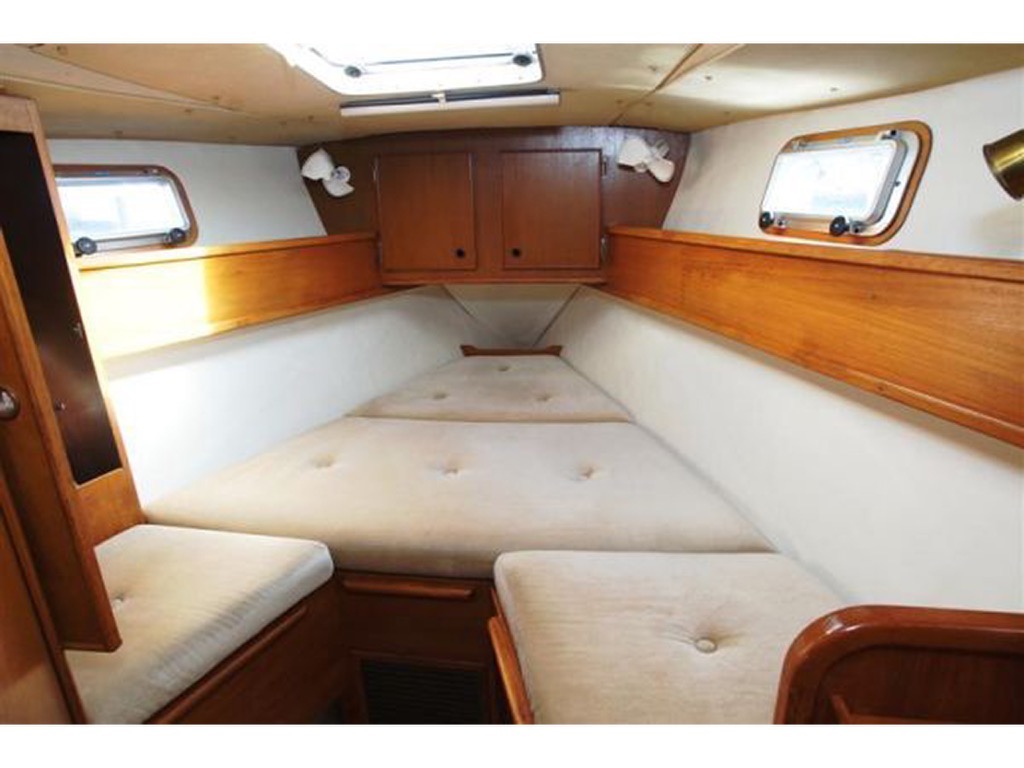
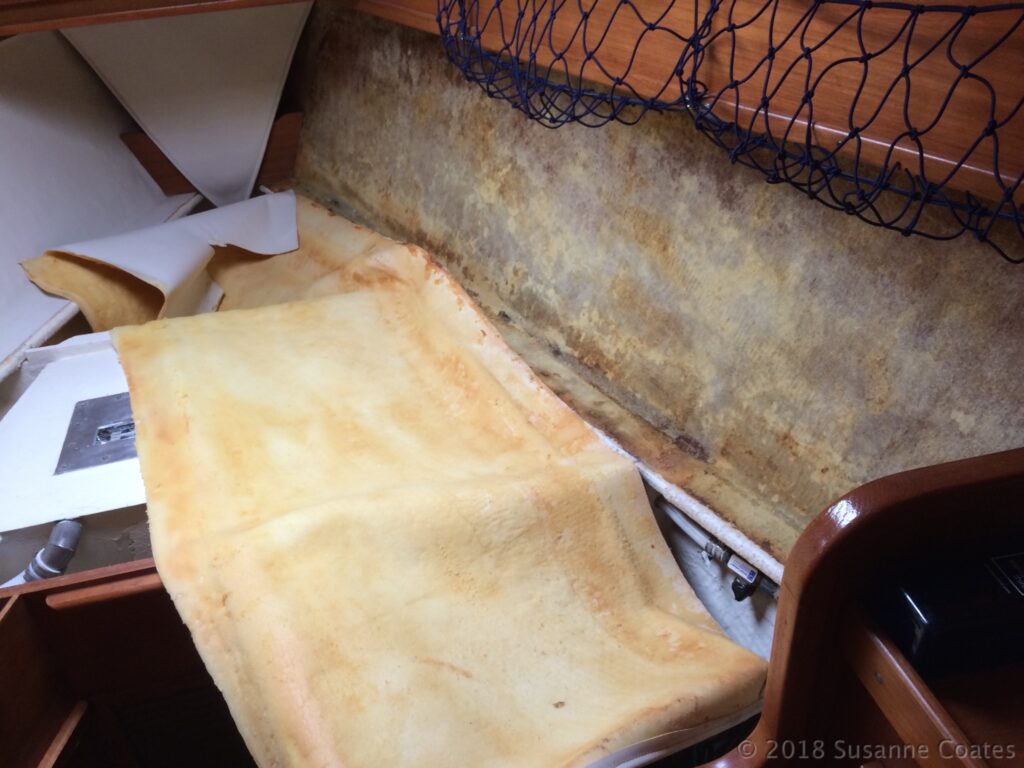
One of the things I learned from last winter is that life aboard can be a drippy affair. When the temperatures drop outside and the warm, moist inside air comes into contact with the cold hull condensation will form. This was particularly a nuisance for me in the closed spaces like the lockers and where things touch the hull like cushions, mattresses and bedding. My solution was to insulate key portions the hull. In this post, I detail the process of insulating Sérénité’s hull using materials like Owens-Corning Foamular 150, Reflectix, and LocTite Power-Grab adhesive. From removing deteriorated foam-backed vinyl liners to applying the new insulation, I cover each step of the process aimed at improving thermal efficiency and interior comfort.
Materials Selection
Insulating a sailboat like Sérénité requires materials that are not only effective insulators but also resistant to moisture, mold, and mildew—common concerns in a marine environment. The following materials were chosen for their specific properties, which make them well-suited to the task. The materials used for insulating Sérénité—Owens-Corning Foamular™ 150, Reflectix™ Double Reflective Radiant Barrier, builder paper, and LocTite™ Power-Grab adhesive—are all readily available, off-the-shelf products. This approach demonstrates how commodity materials can be effectively utilized to achieve a specialized solution that addresses the unique challenges of a marine environment. The combination of rigid foam insulation, reflective barriers, and a moisture-resistant adhesive provides a practical, affordable, and efficient method for enhancing thermal efficiency and interior comfort.
Owens-Corning Foamular™ 150
For the primary insulation layer, I selected Owens-Corning Foamular™ 150, a 2.5 cm (~1″) thick, closed-cell extruded polystyrene (XPS) foam board. Classified as ASTM C578 Type X, it offers excellent thermal resistance with an R-value of 5 per inch of thickness at 75°F (24°C). The R-value increases slightly at lower temperatures, providing even better insulation in colder conditions. The closed-cell structure is key to its effectiveness: it resists moisture absorption (0.3% maximum water absorption by volume) and maintains its thermal performance even in damp conditions.
Foamular™ 150 is particularly suitable for the interior of a boat due to its water resistance, mildew resistance, and excellent dimensional stability. It is a ground contact rated, durable, easy to cut and shape, and provides structural support when applied to interior surfaces. Additionally, it has a flame spread rating of 10 (ASTM E84), which enhances safety in confined areas. The material is also certified by SCS Global Services and GREENGUARD, reflecting a commitment to environmental sustainability.
Reflectix™ Double Reflective Radiant Barrier
To enhance insulation performance, I included Reflectix™ Double Reflective Radiant Barrier, which consists of two layers of reflective aluminum foil bonded around a central core of polyethylene bubbles. Its primary function is to reflect radiant heat, with a reflectivity of 96% (per ASTM C1371) and an emissivity of 0.04. This capability significantly boosts overall insulation efficiency when combined with Foamular™ 150, especially in preventing heat gain during warm weather and retaining heat during colder conditions. Reflectix™ is also moisture-resistant, mold-resistant, and lightweight—important characteristics for maintaining a clean, healthy environment within a boat’s interior. It carries a Class A/Class 1 fire rating with a flame spread rating of less than 25 and a smoke development rating of less than 50 (ASTM E84), further contributing to safety.
Builder Paper
Builder paper serves as a template material during installation, allowing accurate cutting of rigid insulation to fit the irregular contours of Sérénité’s hull. While not part of the insulation system itself, its use improves precision and minimizes material waste.
LocTite™ Power-Grab Heavy-Duty Construction Adhesive
To secure the insulation to the hull and the layers to each other, I used LocTite™ Power-Grab Heavy-Duty Construction Adhesive. Designed for outdoor applications, it provides excellent adhesion in challenging conditions. Although a contact adhesive would offer a quicker bond between non-porous materials, I chose this product due to its low VOC formulation. Working in a confined space with limited ventilation, safety was a priority. The downside to using this adhesive is a longer curing time; however, it offers the benefit of drying to a hard, sandable consistency. This makes it easy to remove or adjust if necessary in the future. Additionally, its resistance to moisture and durability makes it well-suited for marine environments.
Tools:
- T-square
- Sharpie
- Box cutter knife with a long blade
- Scissors
- Caulking gun
- Masking tape
- Spreader (for spreading adhesive over surfaces)
Preparation
Before diving in there a some preliminaries:
1. Foam Blocks: It’s convenient to precut a number of these blocks. For my V-berth I used about 3/4 of a 4’x8′ sheet of foam. The foam is cut into 50mm x 50mm (2″x2″) blocks. The size was an arbitrary choice based on the width of my T-square. Once cut I stored them in trash bags till I needed them.
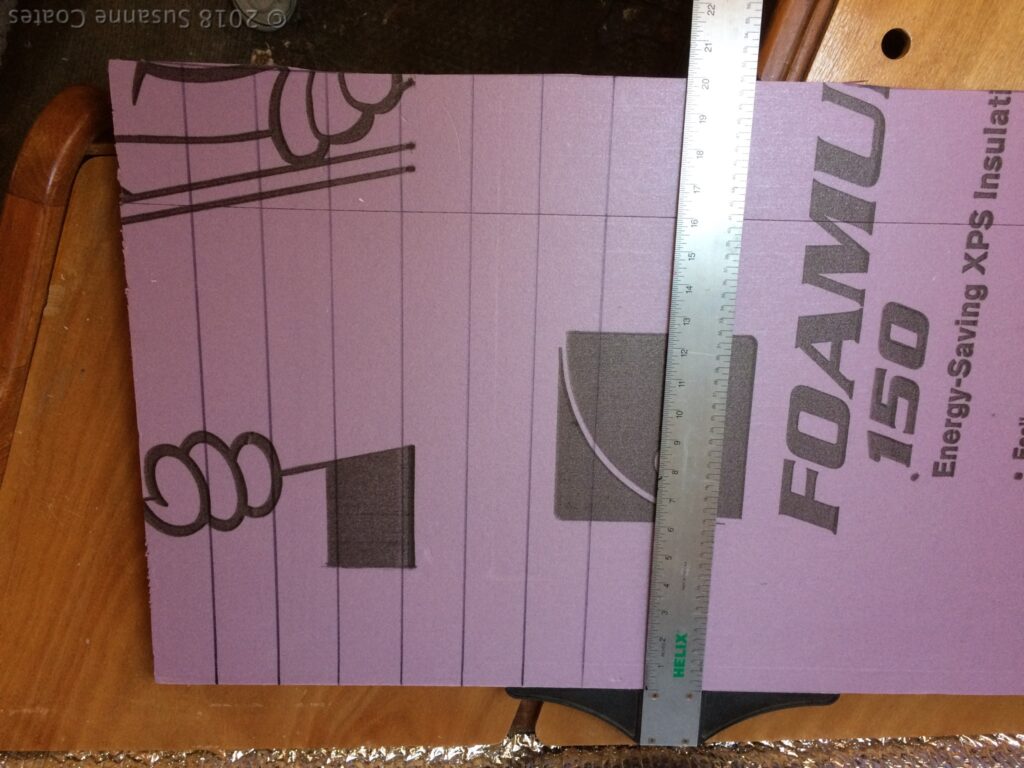
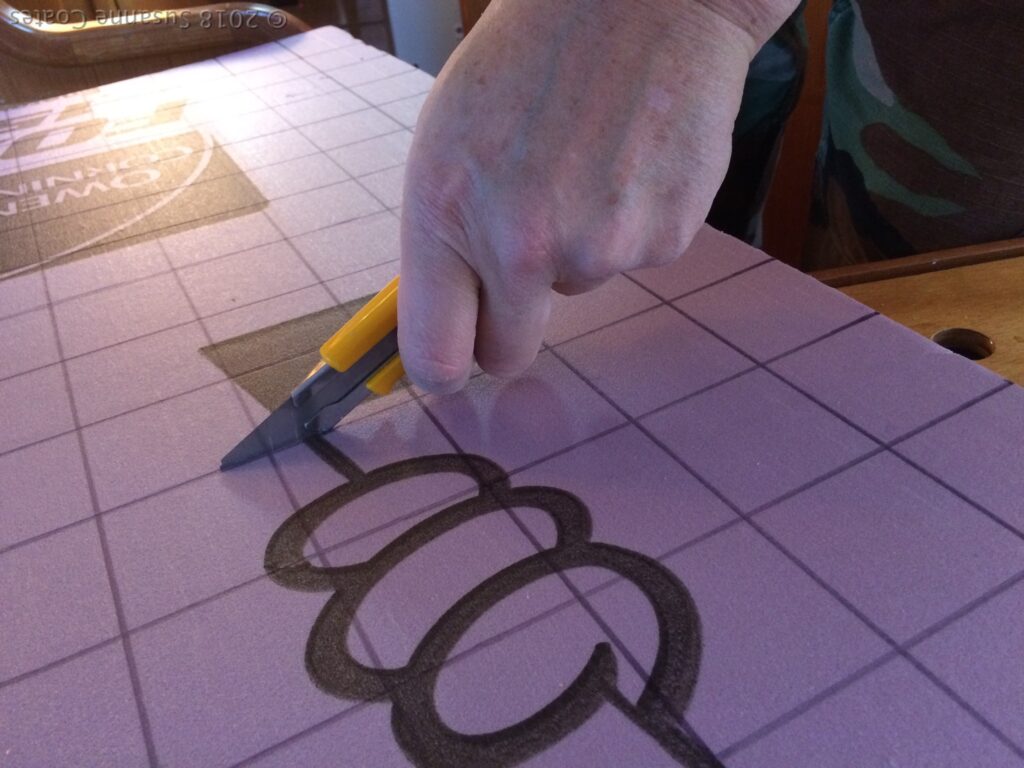
Note: I later found a faster way to cut these using an oscillating tool and a circular cutting blade. I first cut the large sheet into 2″ x 8′ strips. Then created jig that allowed me to advance the strip against a 2″ stop and chop them with the tool and tap them off the jig into the trash bag. This was a much faster way to create the blocks, though it does generate a lot of very clingy, styrofoam dust. So, don’t do it this way inside the boat!
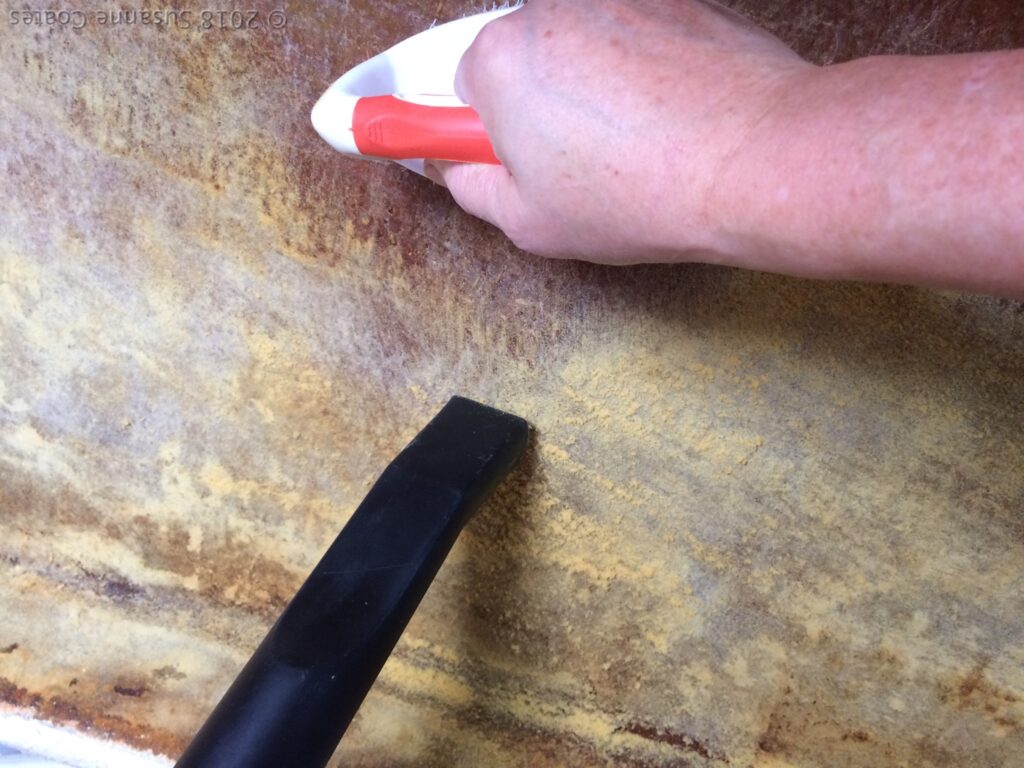
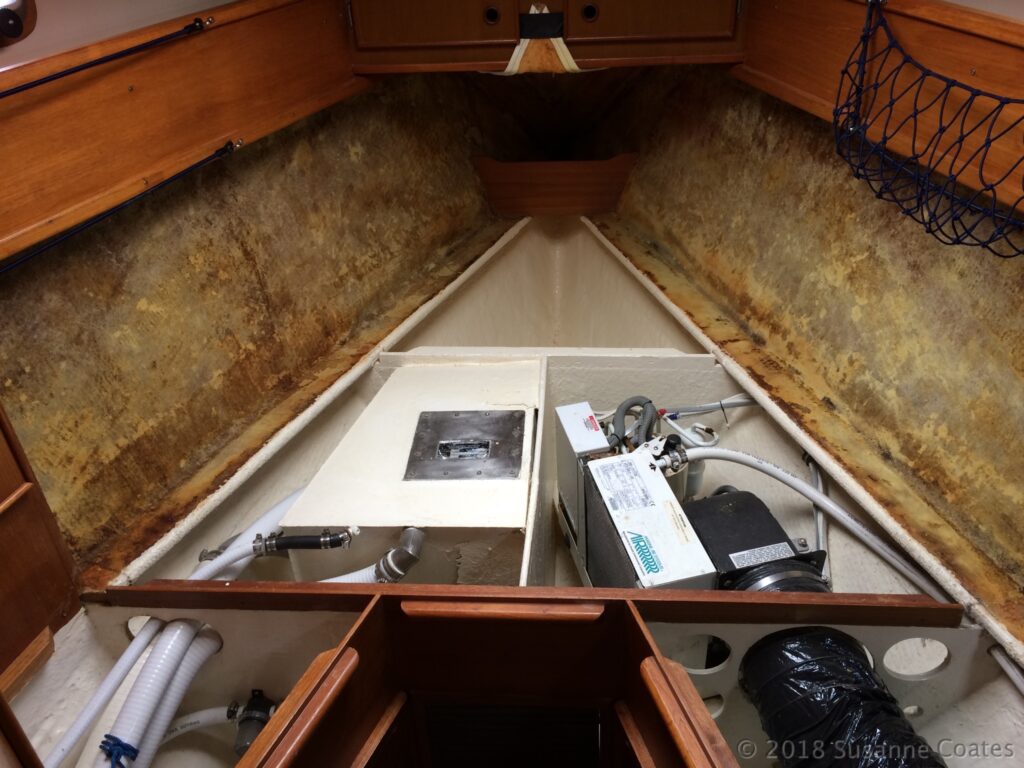
2. Surface preparation: the surface should be dry, free of old glue, bits of foam backing or other debris, and oil.
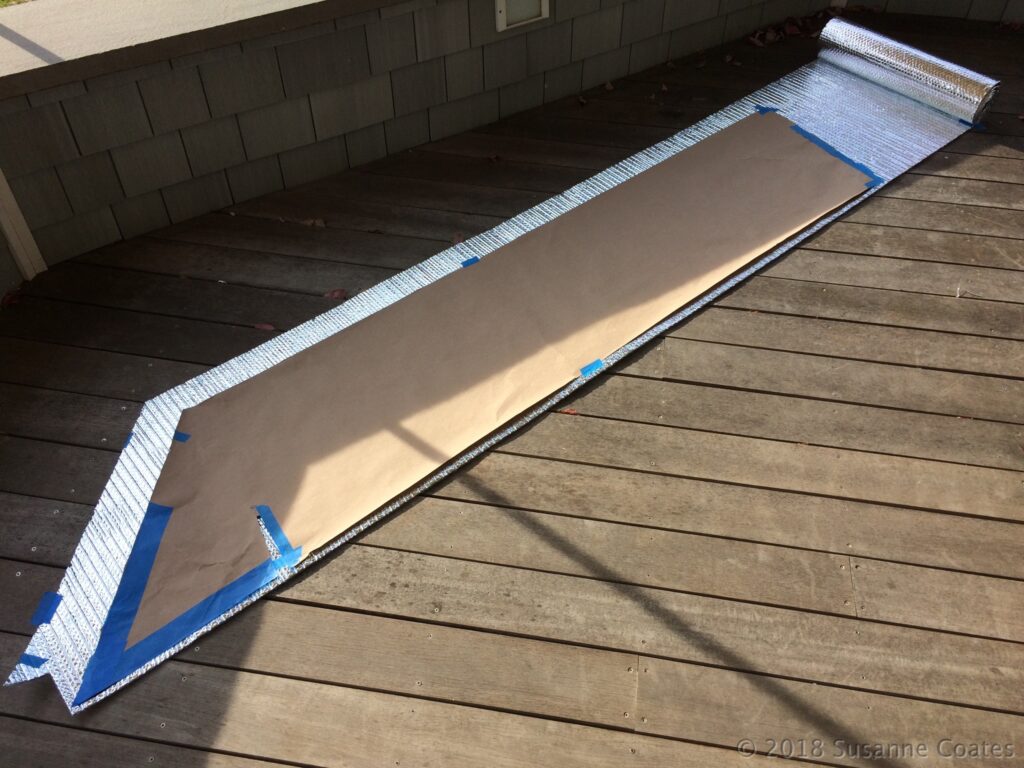
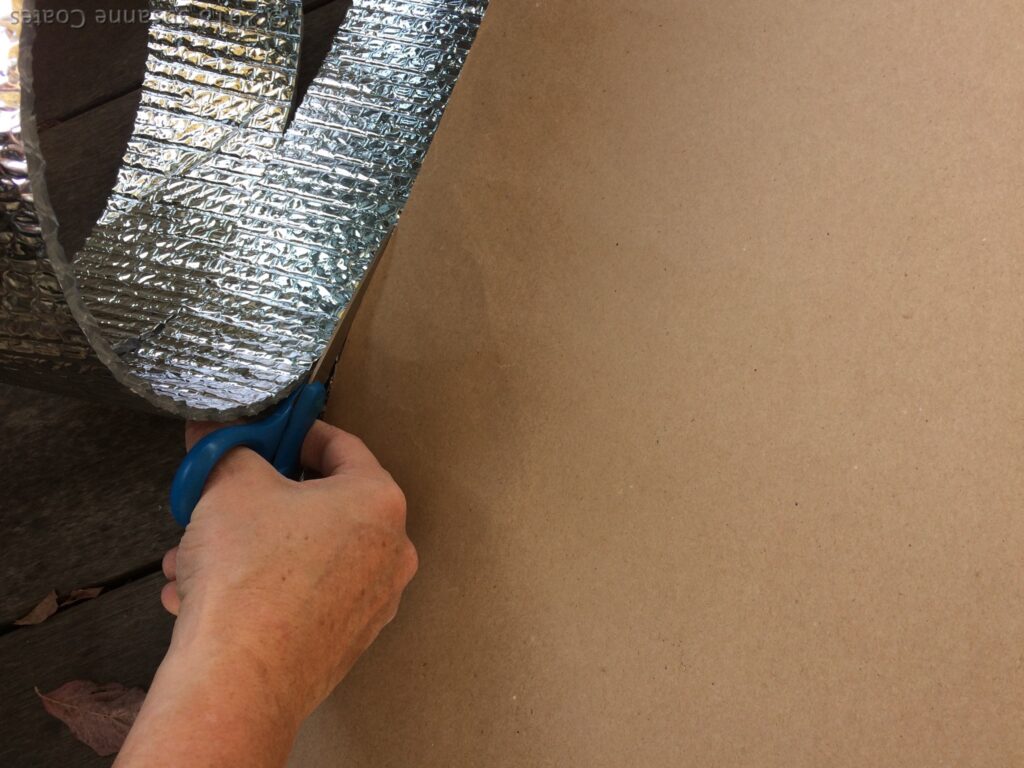
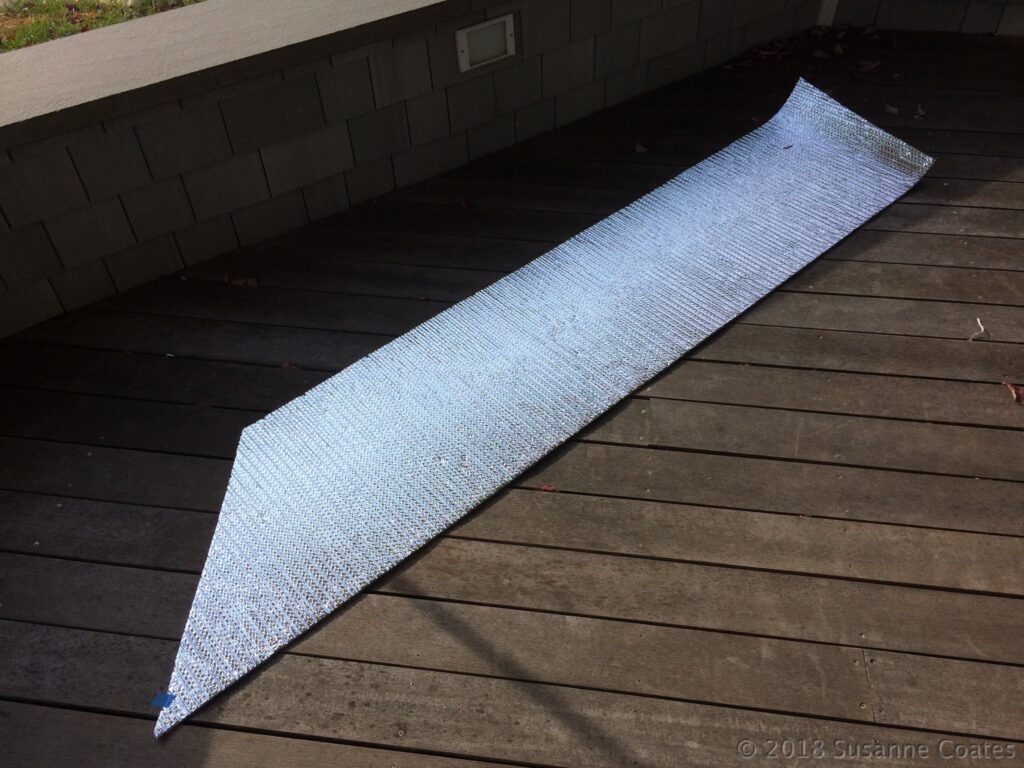
3. Templates: Make templates using the builder paper of the area to be insulated. Then cut the hull layer of reflectix on land where you have room to move about.
Application
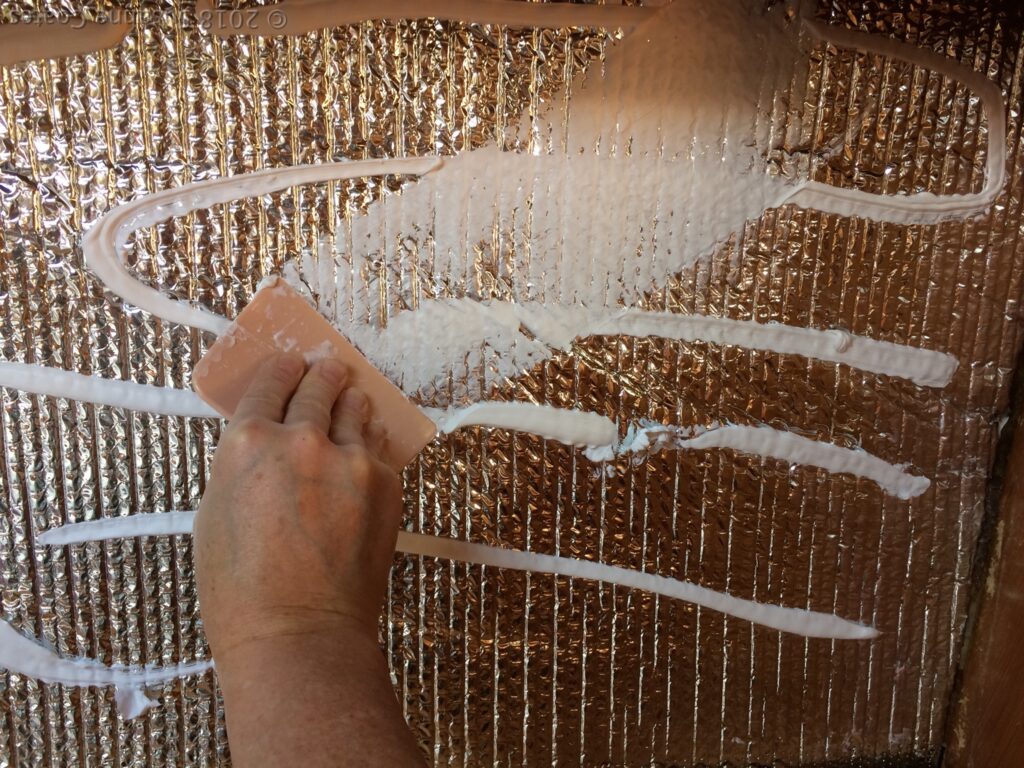
When applying the adhesive, It’s best to work in manageable sections. Always apply adhesive to both surfaces to be bonded. First, apply and spread adhesive on the hull
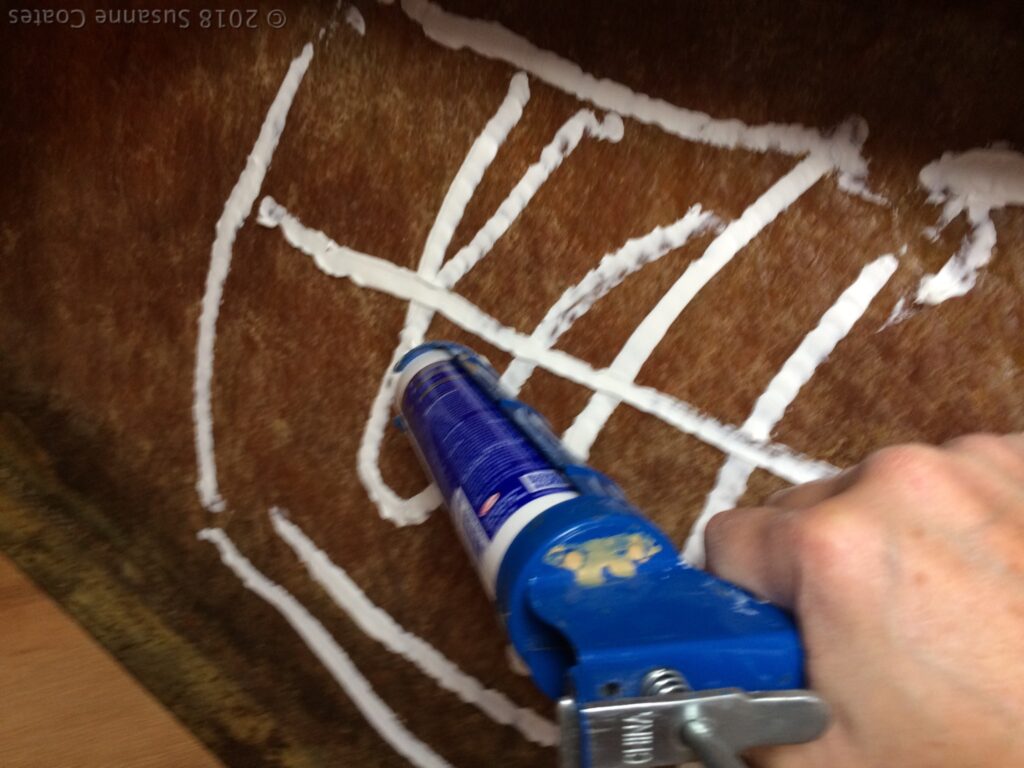
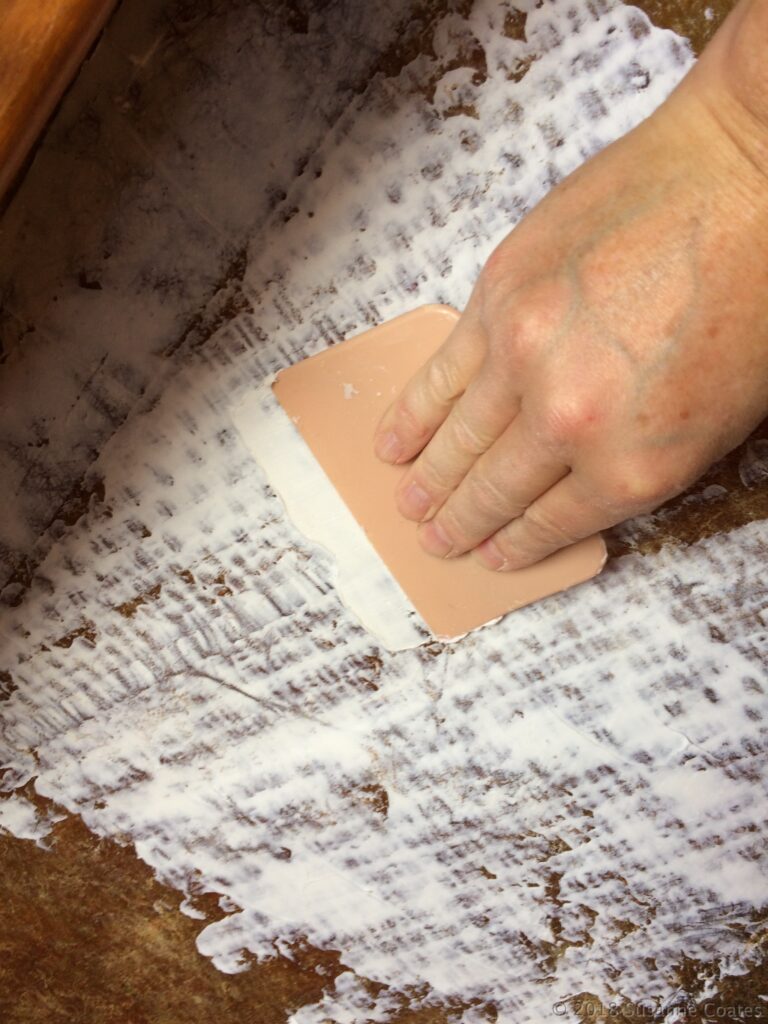
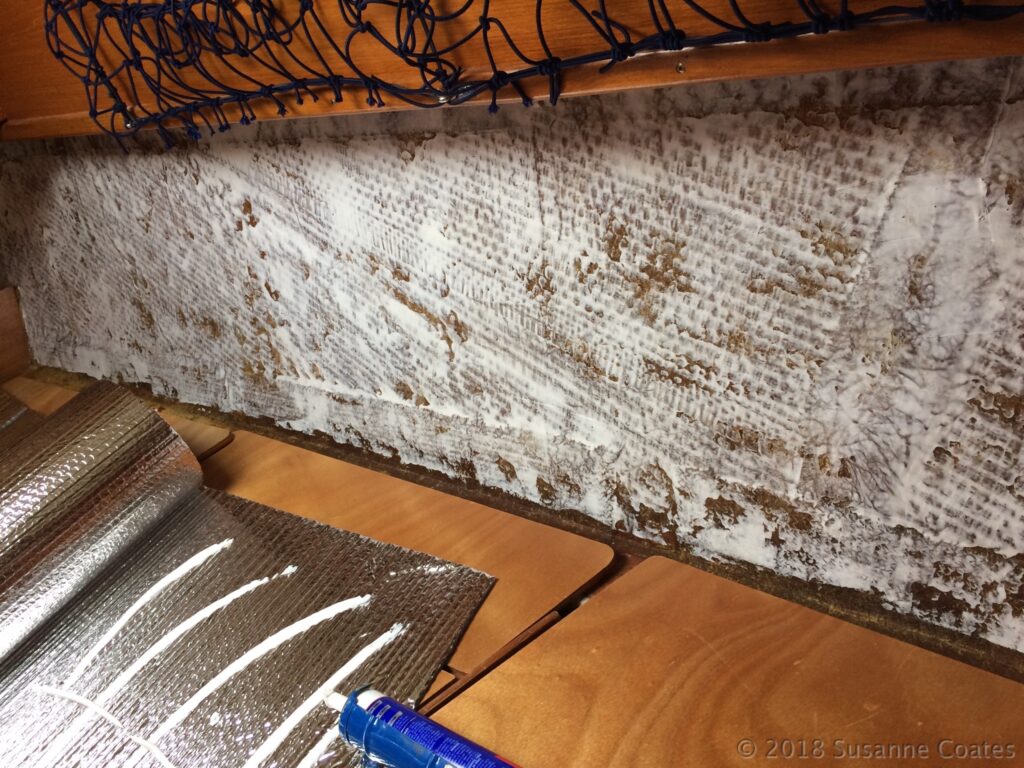
Then apply the adhesive to the back of the reflectix
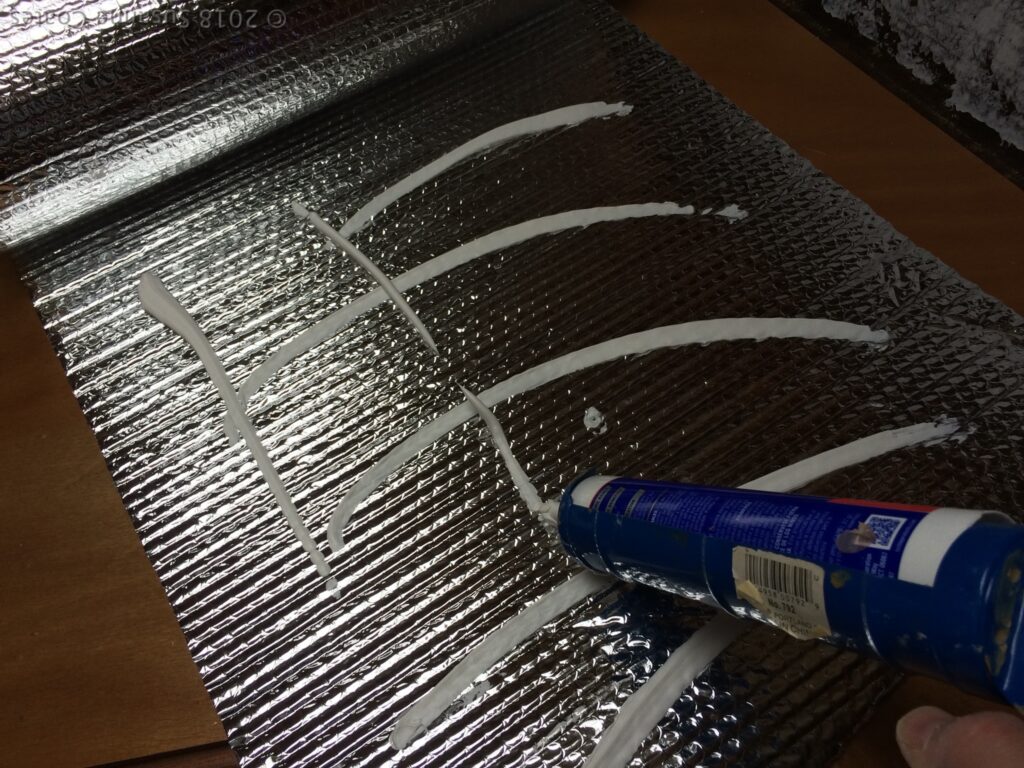
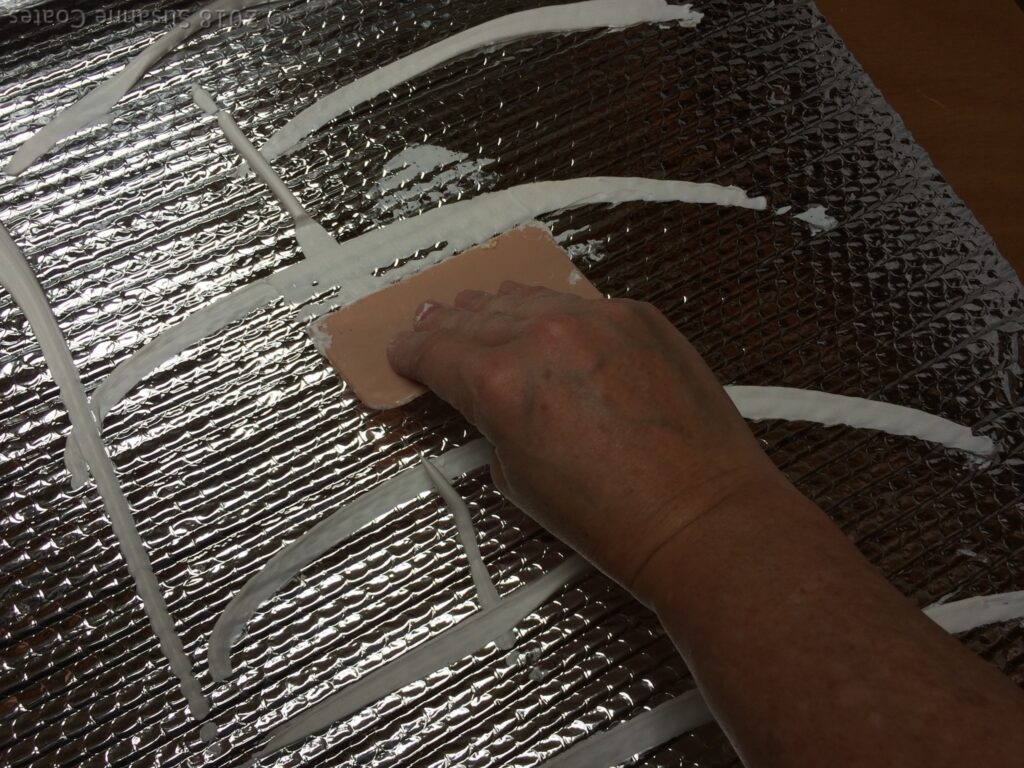
Once both surfaces are completely and evenly coated, then align the long edges and begin at one end pressing the two surfaces together. If you have a roller you can use it to work the excess air bubbles from between the layers and facilitate better bonding. If you misalign the layers then peel them apart and try again.
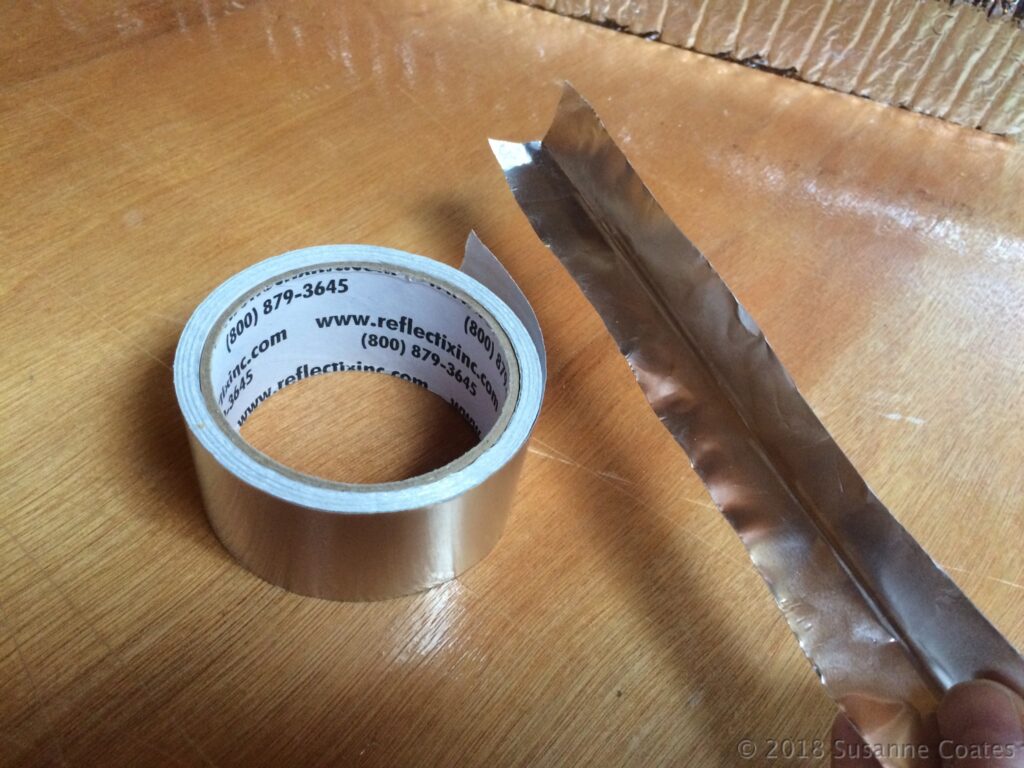
Complete this precess for all surfaces and use adhesive backed aluminum tape to tape seams and joints.
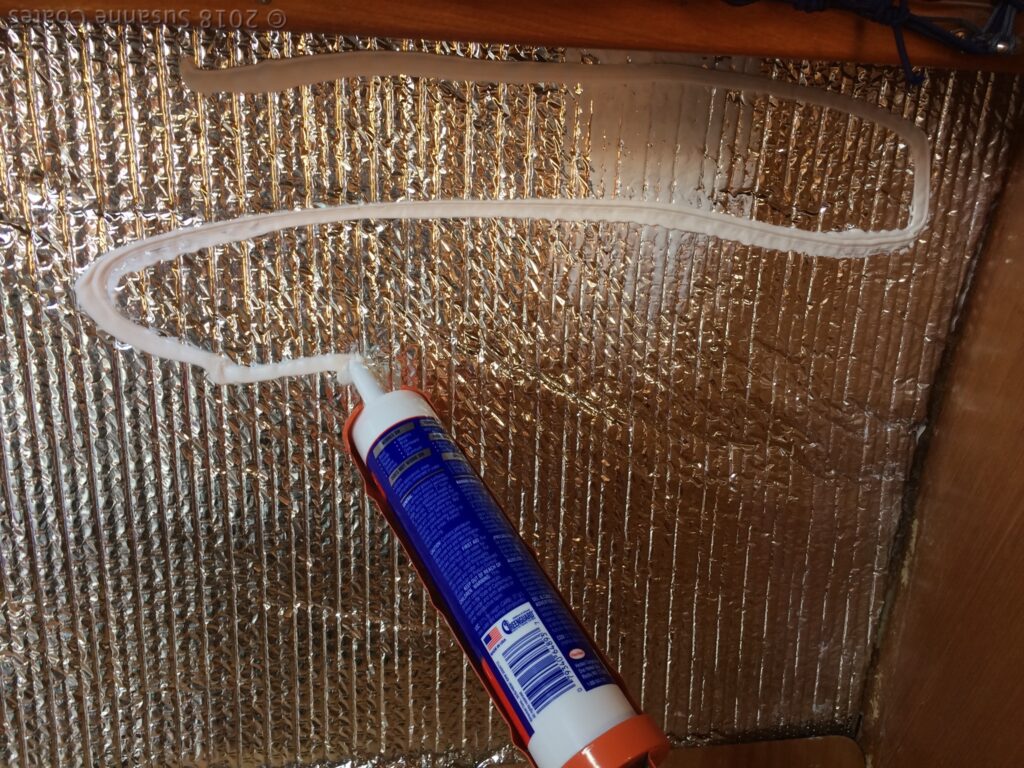
Now, apply adhesive to the front side of the Reflectix® and spread evenly. Then begin placing blocks. To apply the adhesive to the blocks, use a scrap of plywood or some rigid material to use as a palette to dip and smear the adhesive on the back of the blocks.
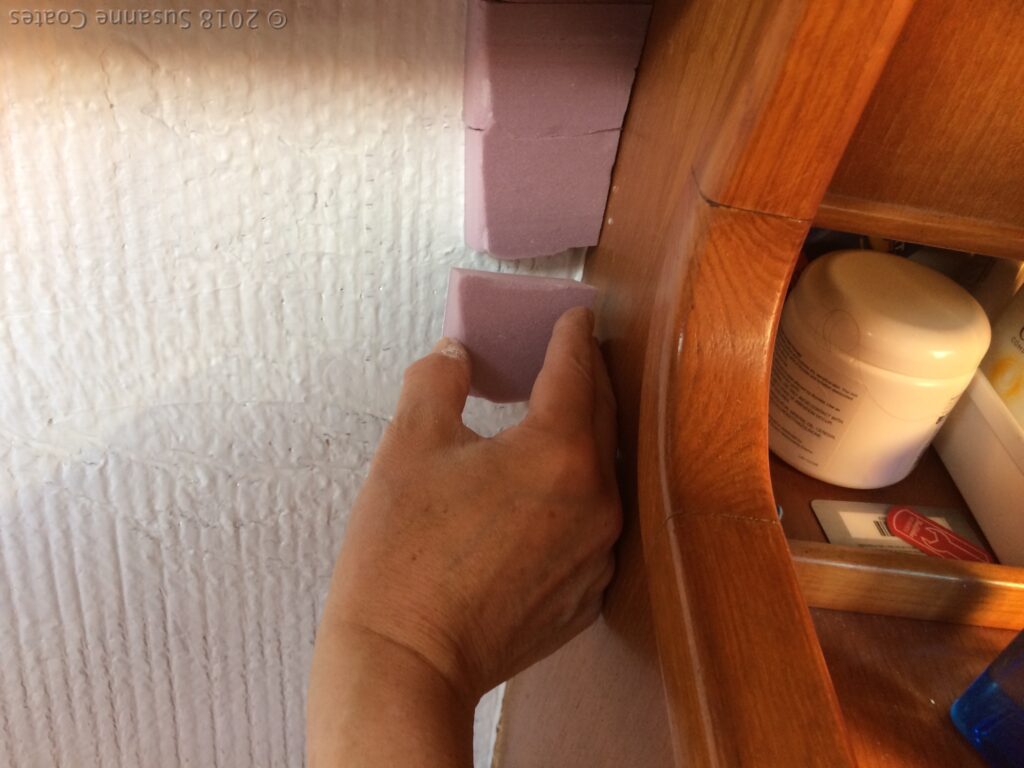
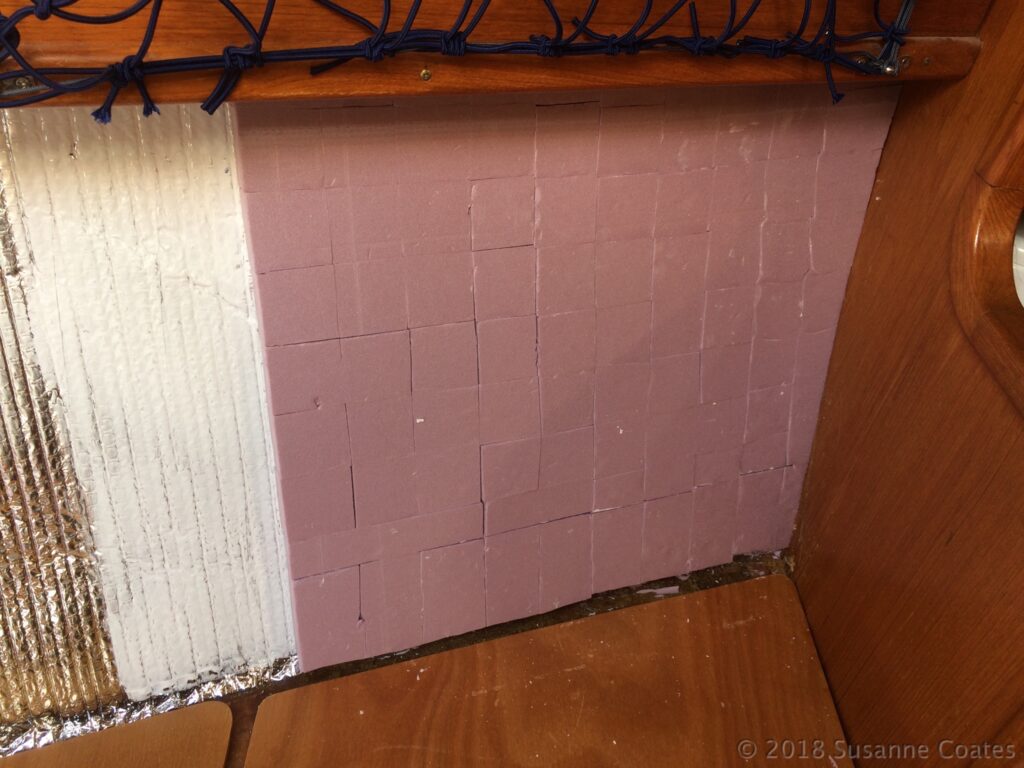
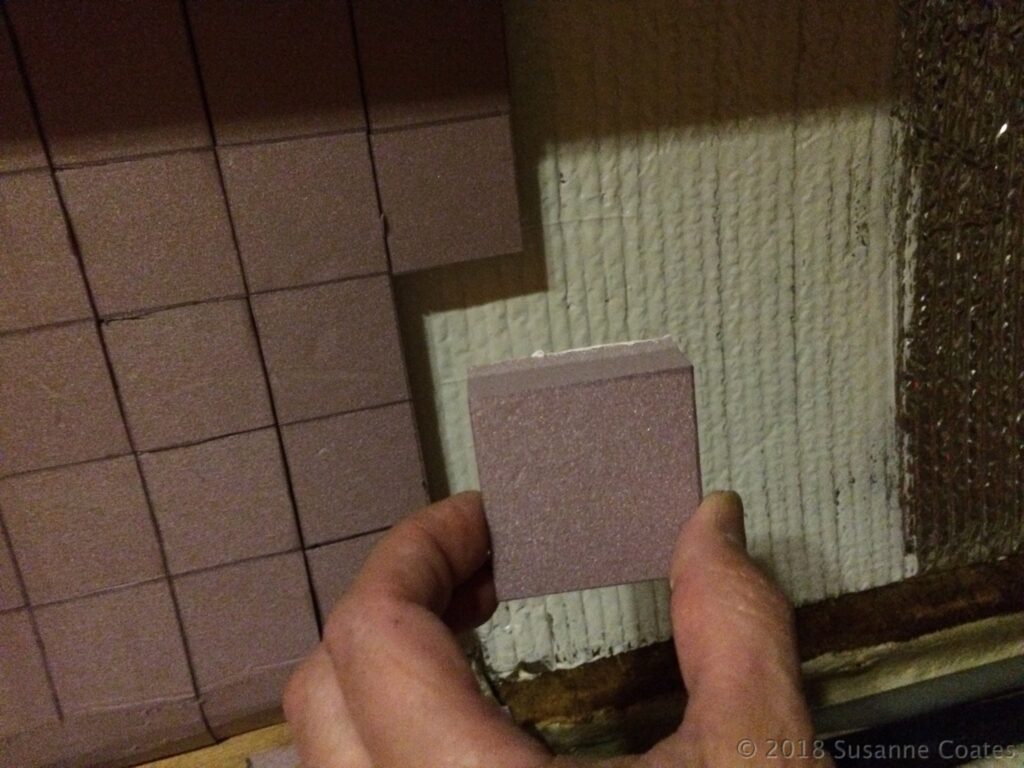
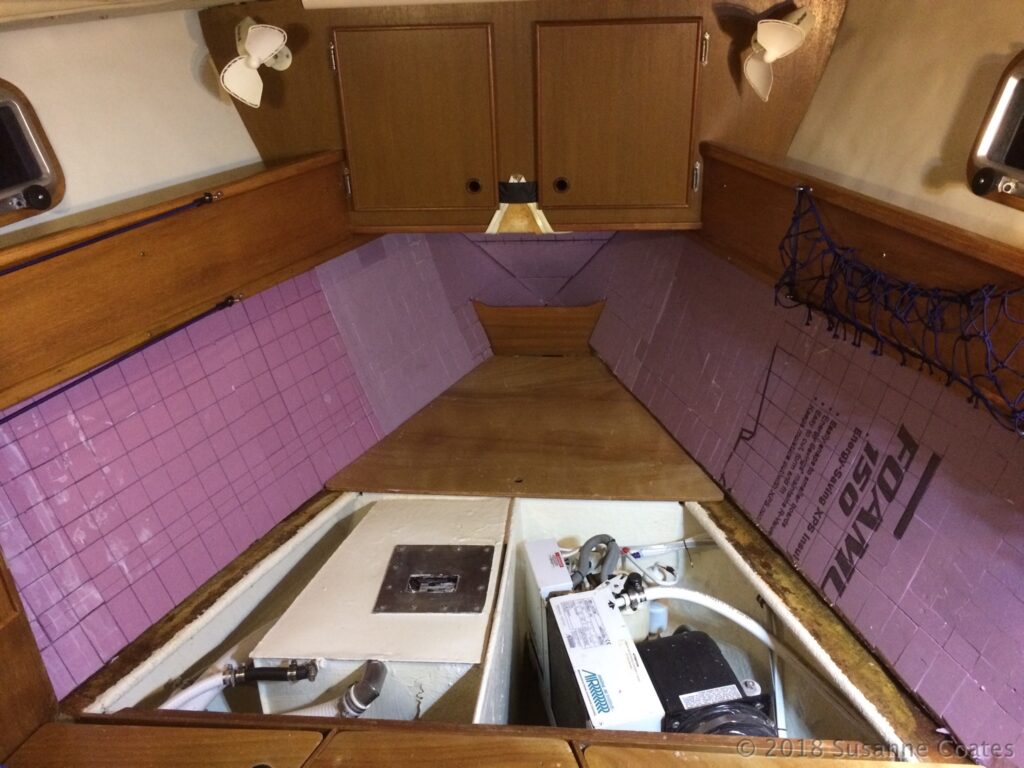
Since the V-Berth has equipment spaces underneath with removable access panels, the foam needs to be trimmed along the bottom. This will permit smooth opening and closing of the access panels.
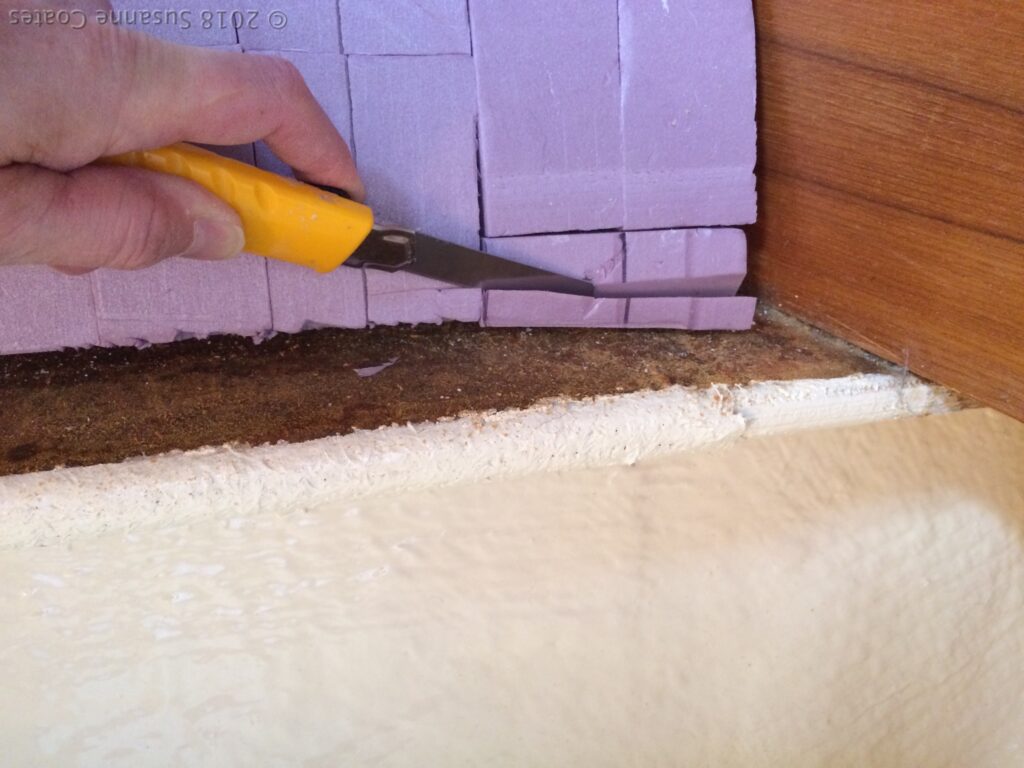
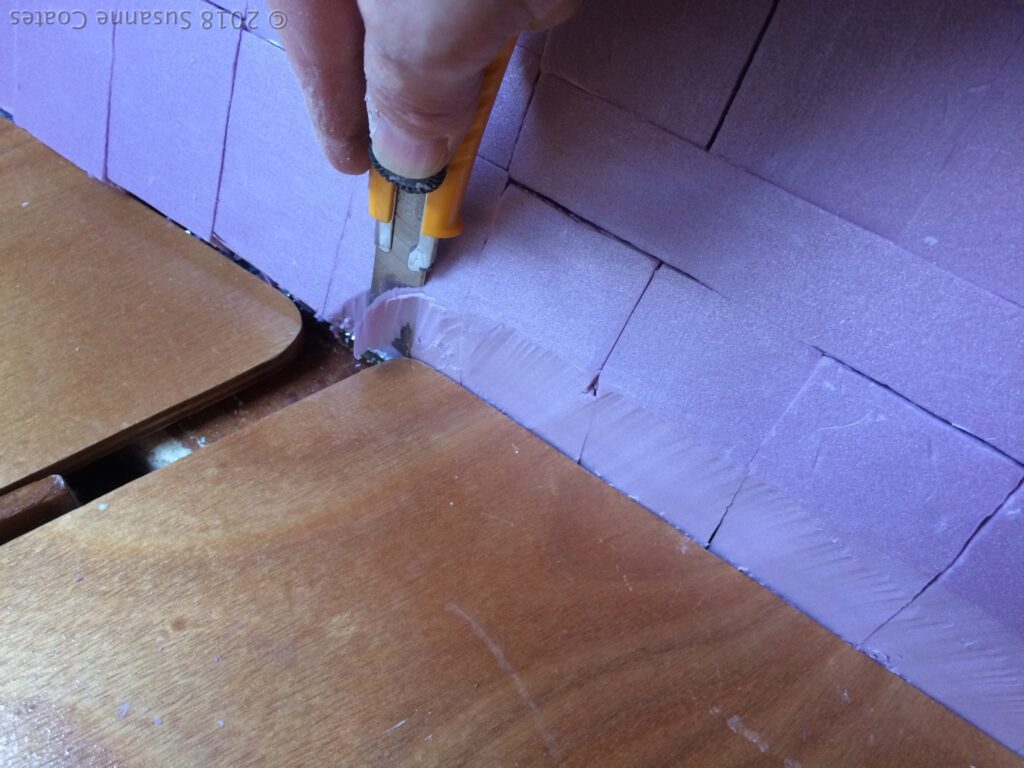
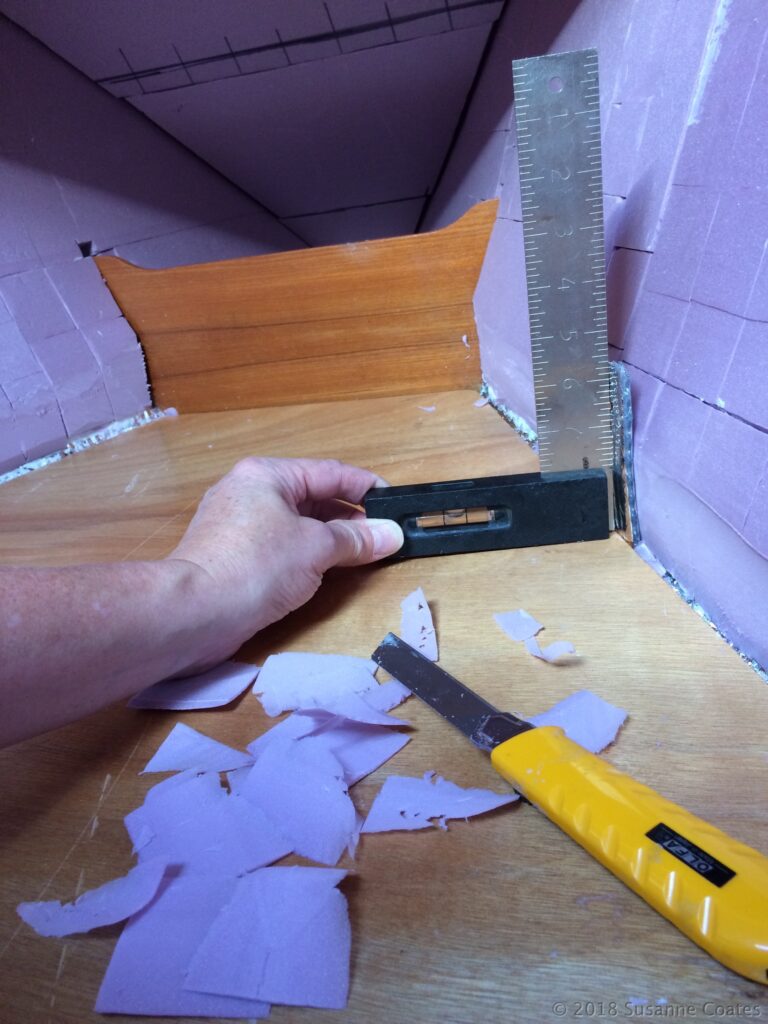
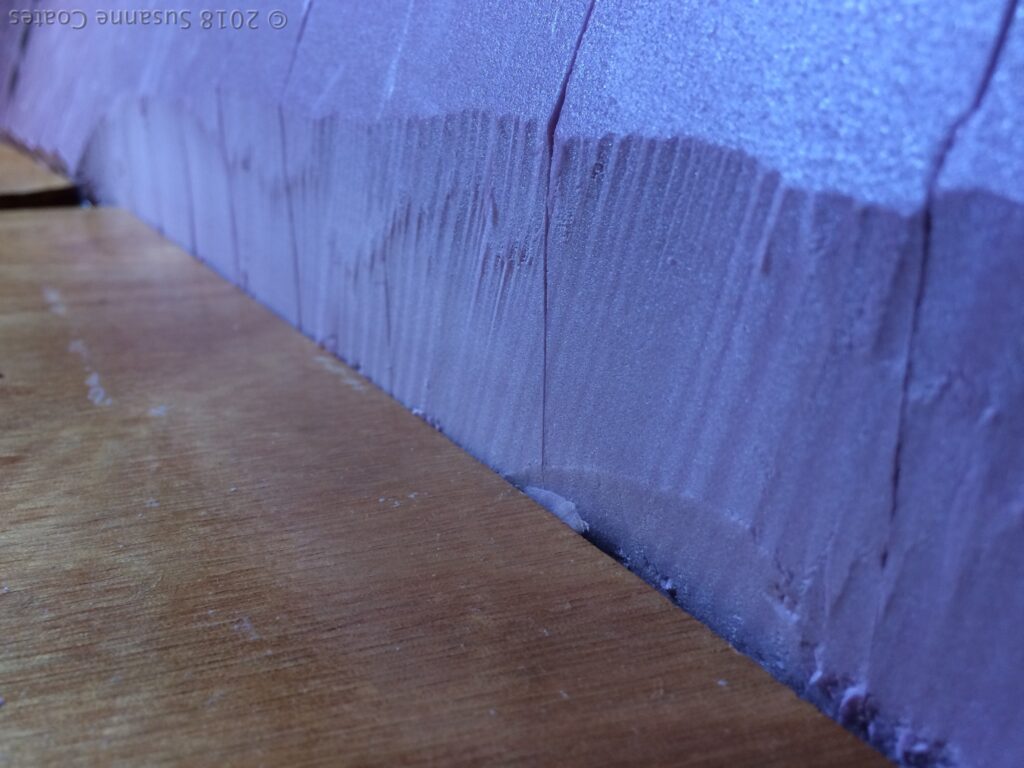
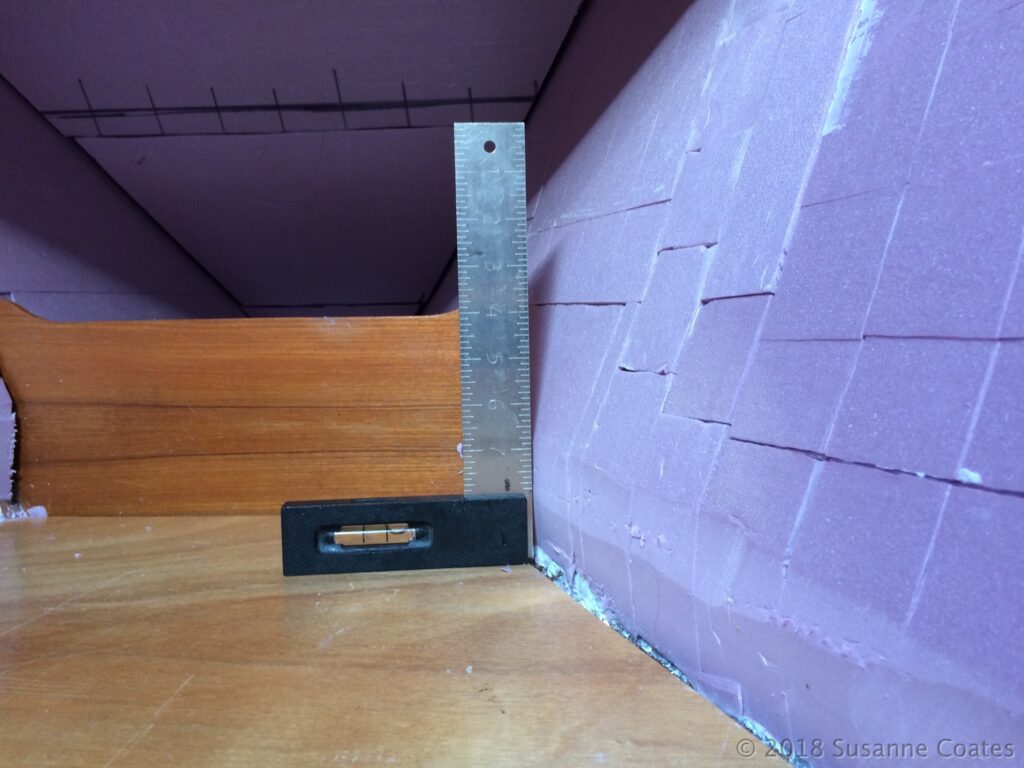
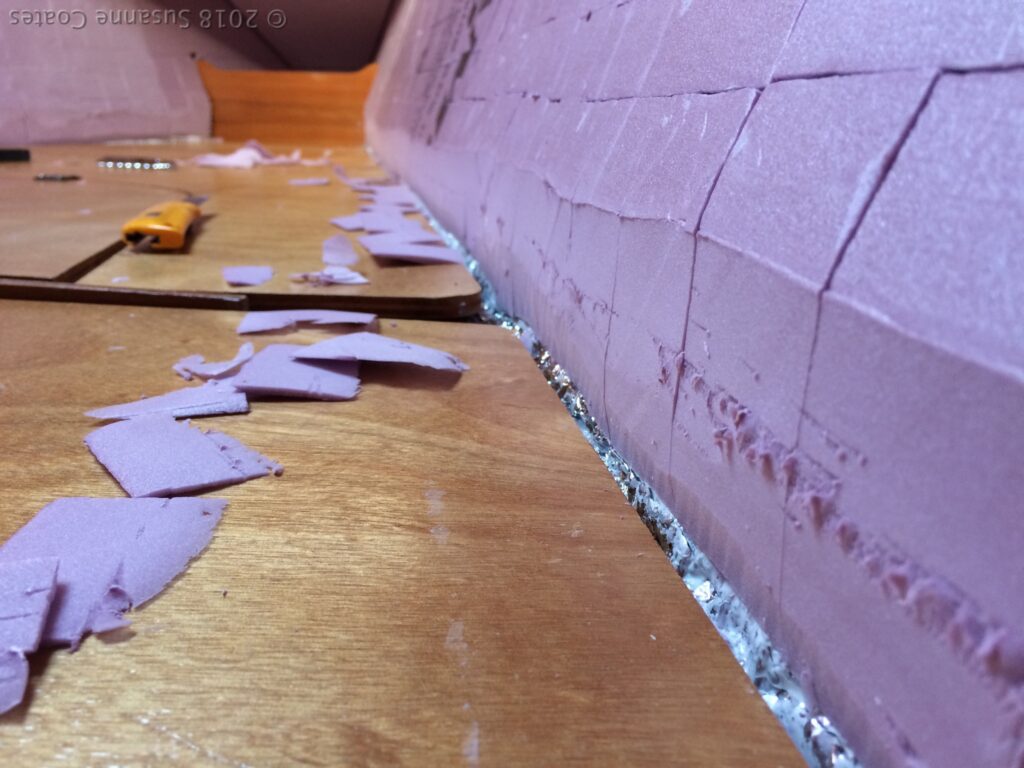
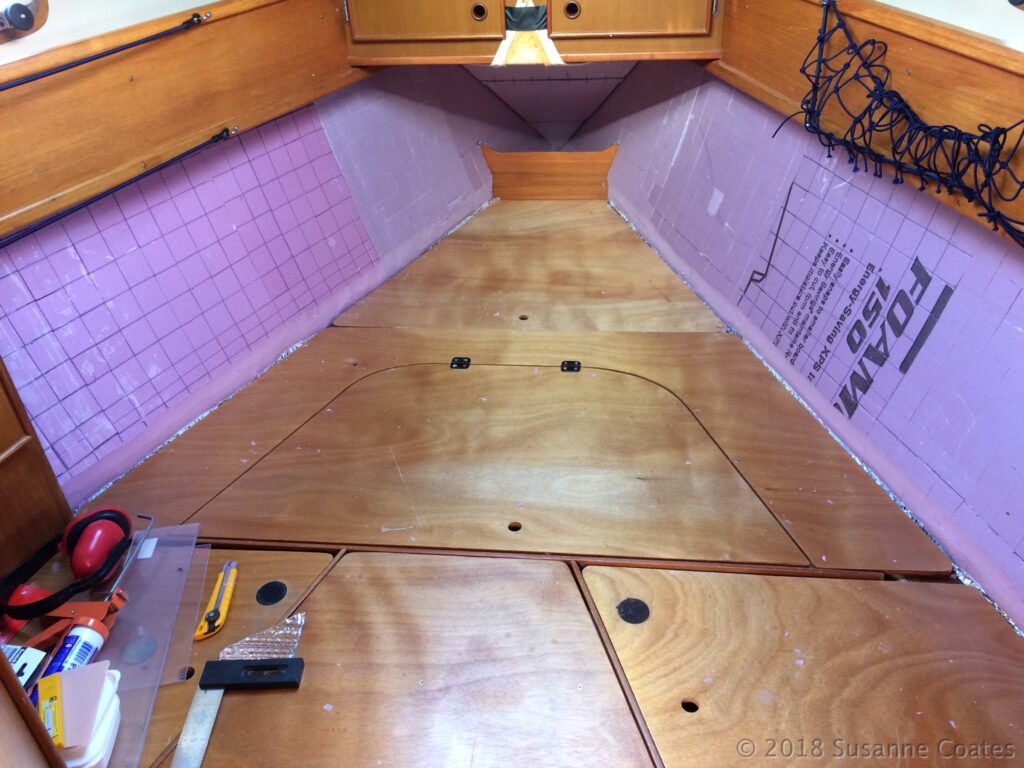
Install the inner layer of Reflectix® – apply more adhesive to both layers.
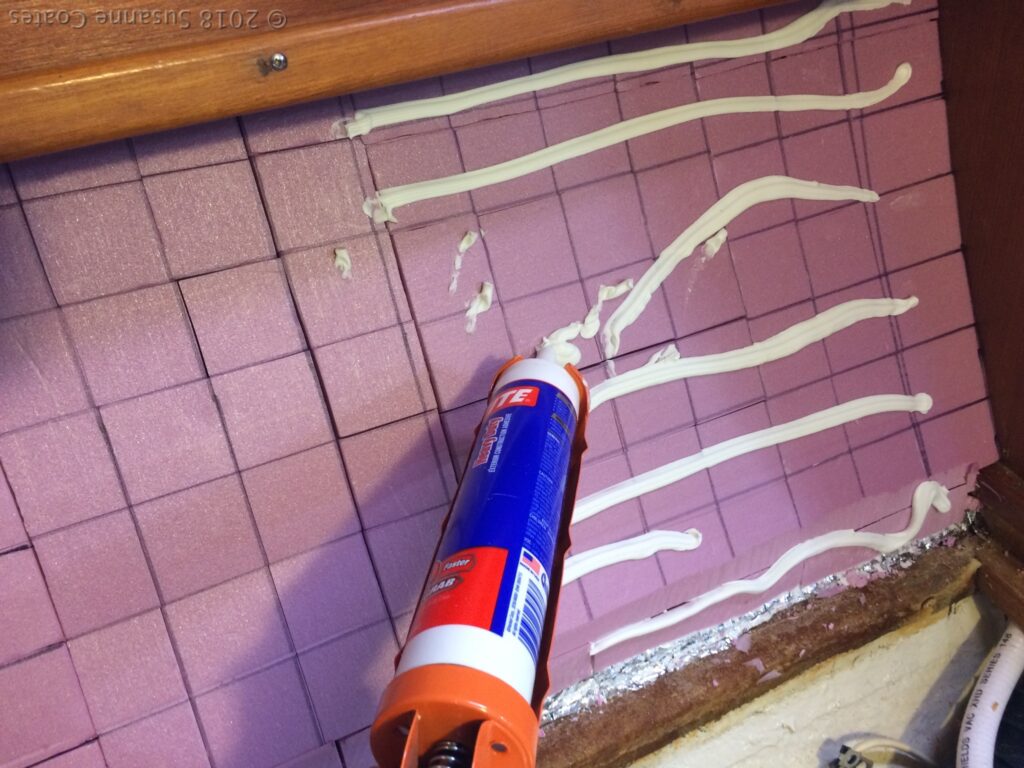
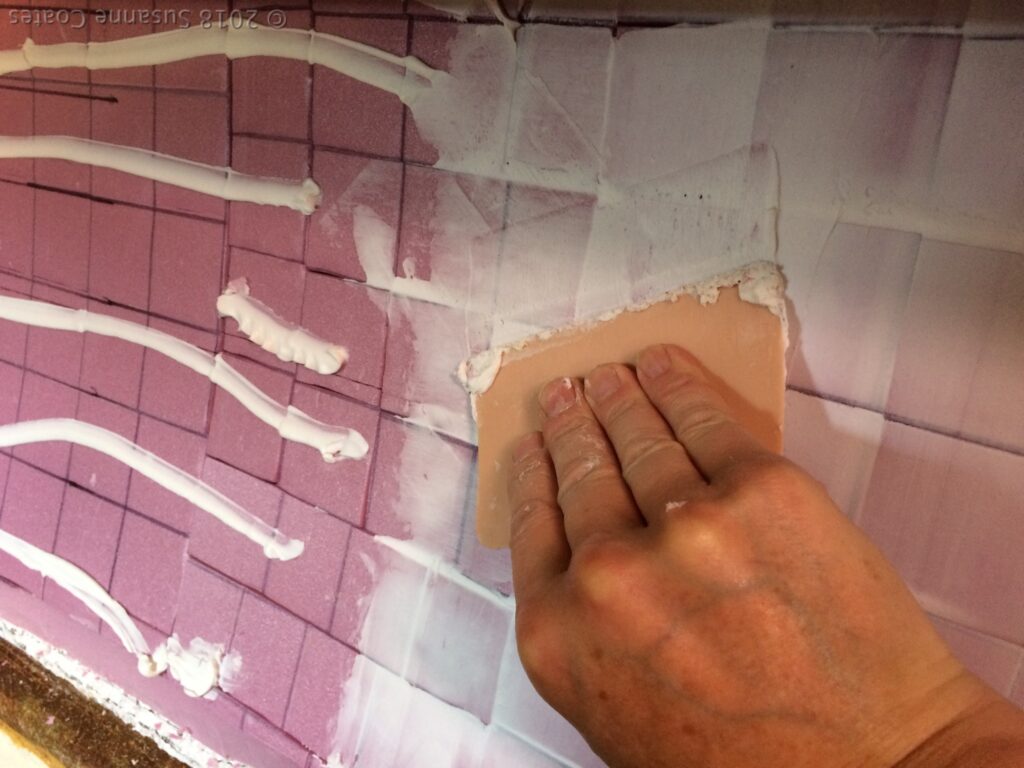


As before, align the long edge and work your way end to end pressing the layers together. When finished tape the seams and joints.
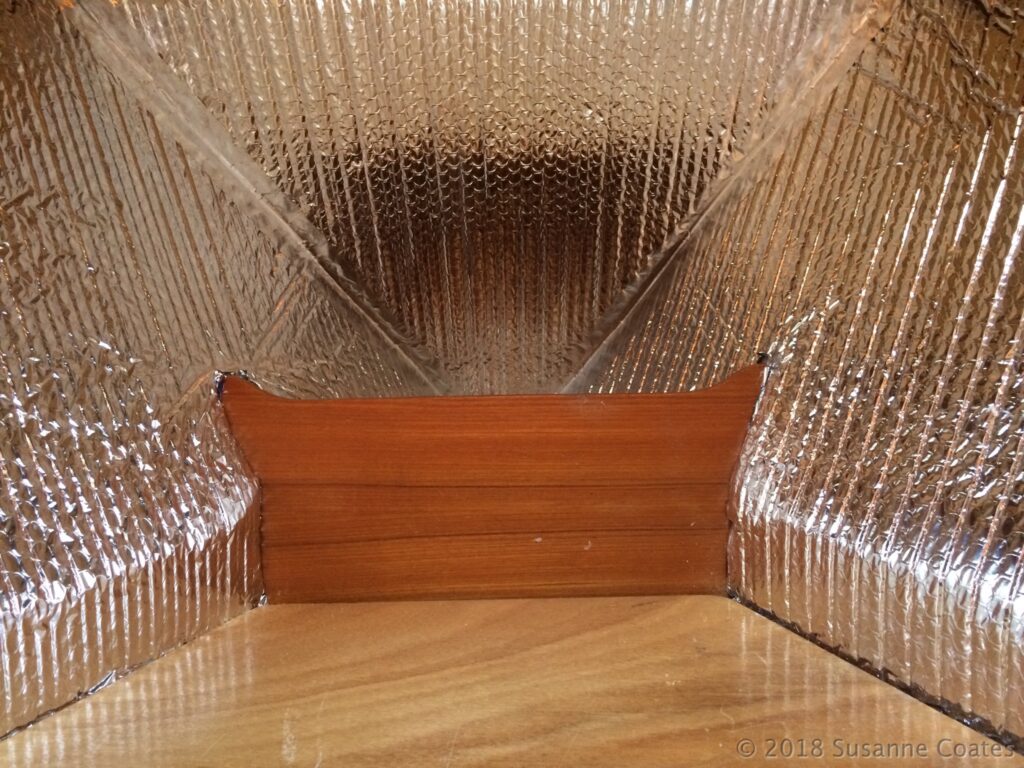
The final step is the apply a final layer of adhesive to the reflectix and the backside of the vinyl pieces. and press them into place.
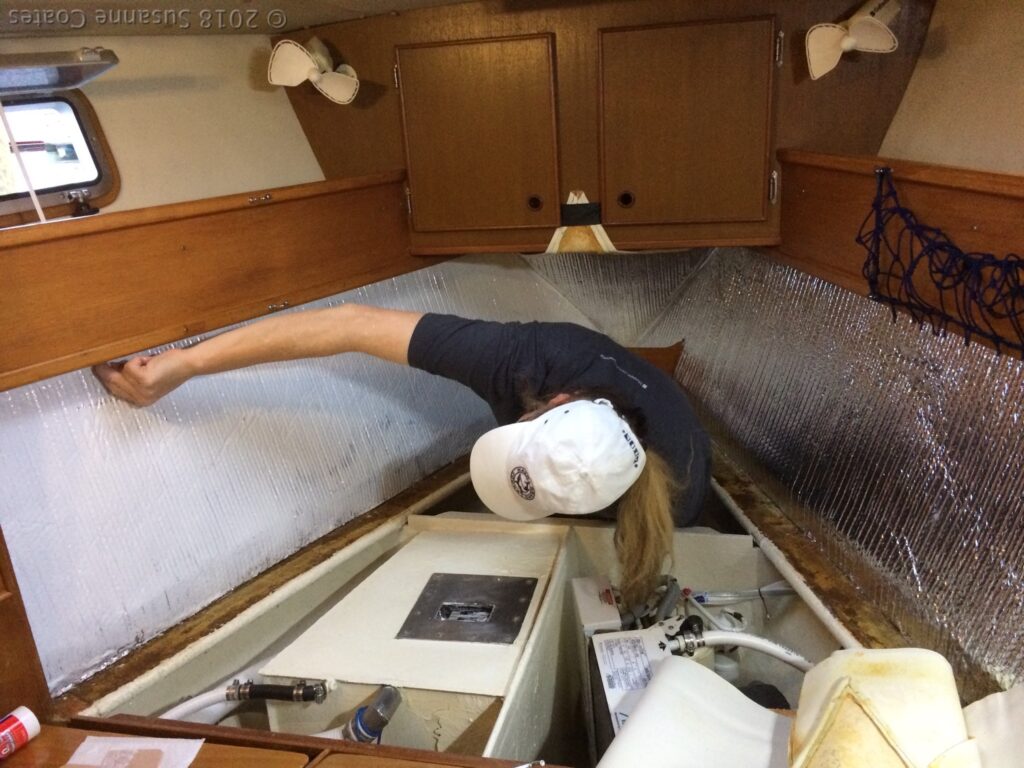
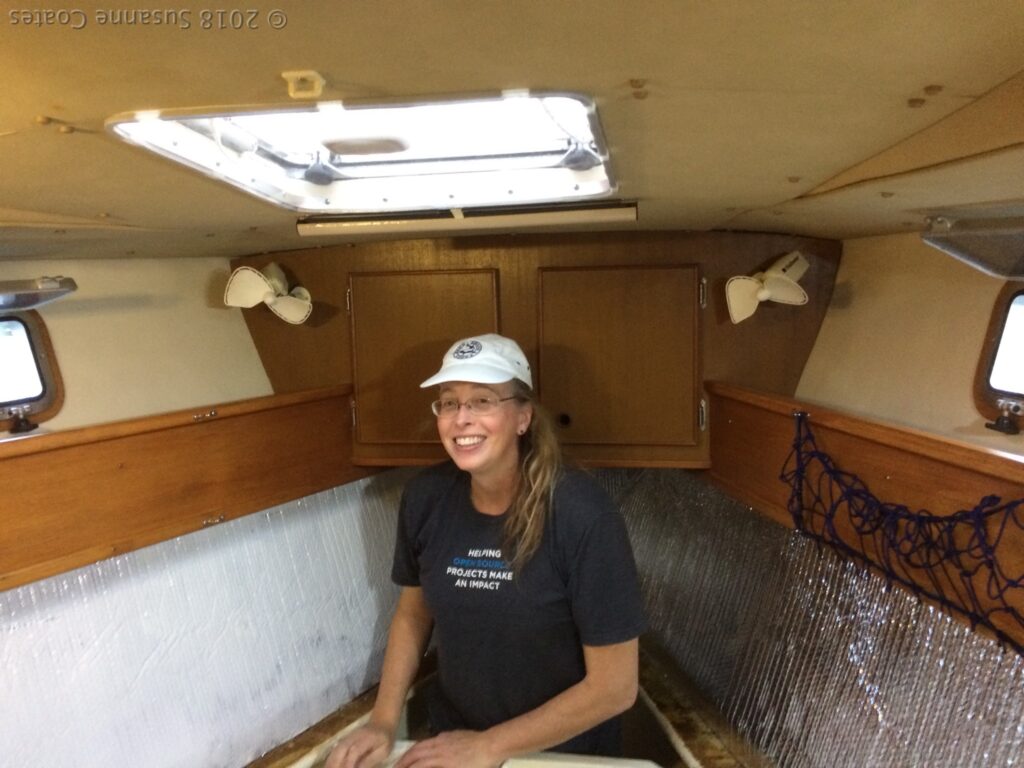
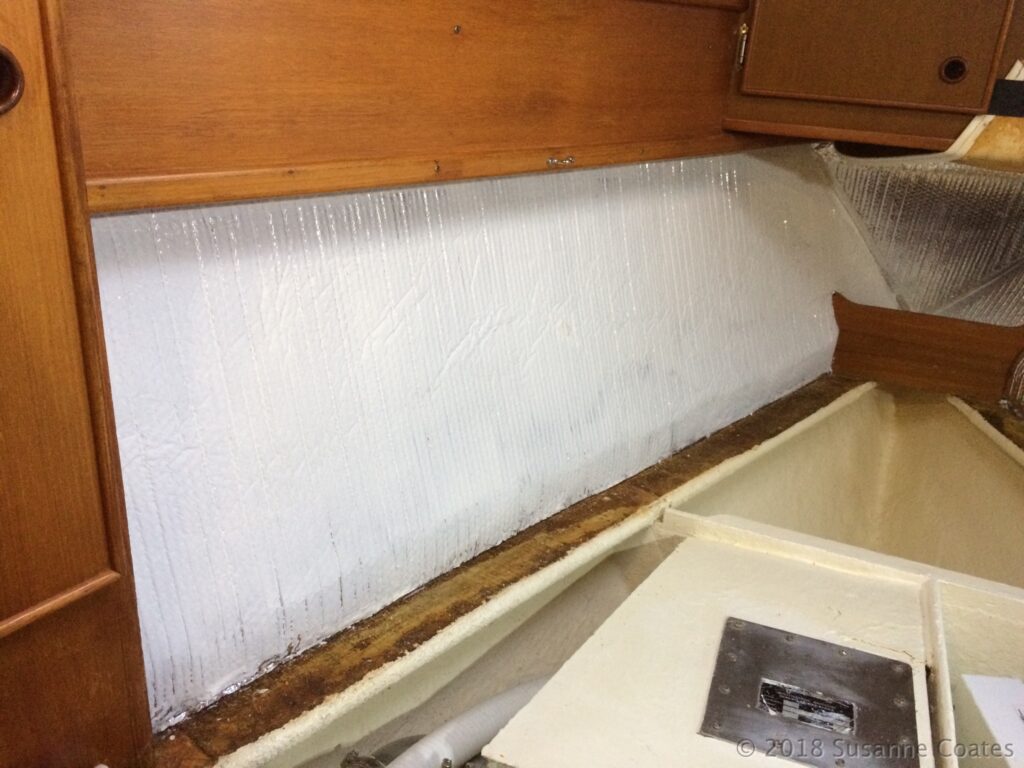
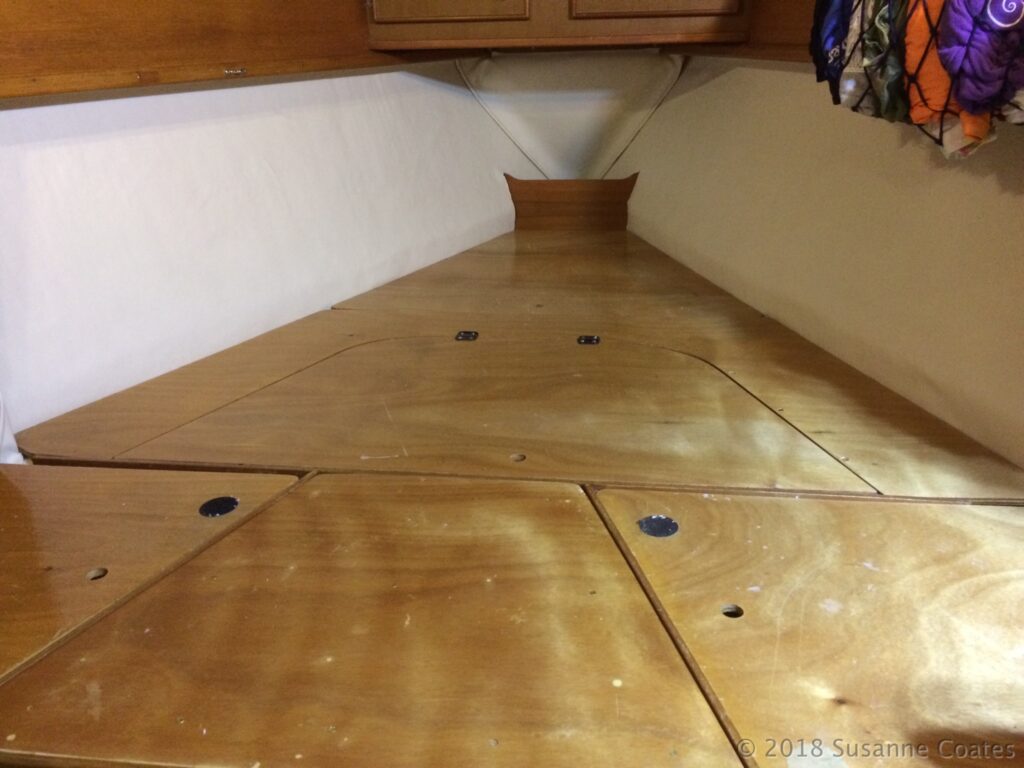
Location: Onboard Sérénité, Back Creek, Annapolis, Maryland, United States, North America

